Introduction
Most new crypto traders spend all their time looking for the perfect entry. They study charts, indicators, and signals, hoping to find trades that win. But winning trades are only one half of trading. The other half, and often the more important half, is protecting your money when a trade goes wrong.
This is what risk management does. It decides how much you can lose, how you exit a losing trade, and how you stay in the game long enough to let good trades work.
Crypto markets move fast and can be very volatile. A coin can rise or fall sharply in a single day. Without a plan for risk, even a trader with good ideas can lose an account quickly. This guide explains crypto risk management in simple steps, so you can build rules that protect your capital before you think about profit.
This is educational content, not financial advice. The goal is to help you understand risk so you can make your own decisions.
What Is Crypto Risk Management?
Crypto risk management is the set of rules you use to control how much money you can lose on any trade and across your whole account. It is a plan that answers three simple questions before you enter a trade:
How much am I willing to lose on this trade?
Where will I exit if I am wrong?
How large should my position be?
Risk management does not try to remove risk. Trading always has risk. Instead, it tries to keep each loss small and controlled, so that no single trade can seriously damage your account.
A good way to think about it is defense. A skilled trader plays defense first. They protect their capital, then look for profit. A trader without defense can win many times and still lose everything on one bad trade.
![IMAGE 1 [A8].png](/uploads/webp/7f203fb04c6cffa002f487f8de405386.webp)
Why Risk Management Matters More in Crypto
Every market has risk. But crypto has features that make risk management even more important.
High volatility. Crypto prices can move much more than stocks in a short time. A large move can happen in minutes. This creates chances for profit, but also for fast losses.
24/7 market. Crypto trades all day, every day, with no closing time. Prices can move sharply while you sleep. A stop loss and a clear plan protect you when you are not watching.
Leverage is easy to access. Many crypto platforms let you trade with high leverage. Leverage increases both gains and losses. Used without control, it can end an account very fast. We explain this in detail later.
Strong emotions. Fast price moves create fear and greed. These emotions push traders to break their own rules. Risk management gives you a plan to follow so you rely less on emotion in the moment.
Recovery math is hard. Losses hurt more than most people expect. If you lose 50% of your account, you then need a 100% gain just to return to where you started. This is why keeping losses small is so important. Small losses are easy to recover. Large losses are not.
The Core Principles of Crypto Risk Management
Good risk management is built on a few simple ideas. If you understand these, the details become easier.
Protect capital first. Your trading capital is the tool that lets you trade. If you lose it, you are out of the game. Keeping it safe is the top priority.
Keep losses small. No single trade should be able to hurt your account badly. Small, controlled losses are a normal part of trading.
Plan the exit before the entry. Decide where you will exit if the trade goes wrong before you enter. Never plan your exit after you are already losing money.
Be consistent. Use the same rules on every trade. Skipping your rules on one trade is often the trade that causes the biggest damage.
Accept that losses happen. Even the best traders lose on many trades. The goal is not to avoid every loss. The goal is to make sure losses stay small and wins are allowed to grow.
![IMAGE 2 [A8].png](/uploads/webp/629a3959228522b2ba100c0e36354aaa.webp)
Risk Per Trade: The 1–2% Rule
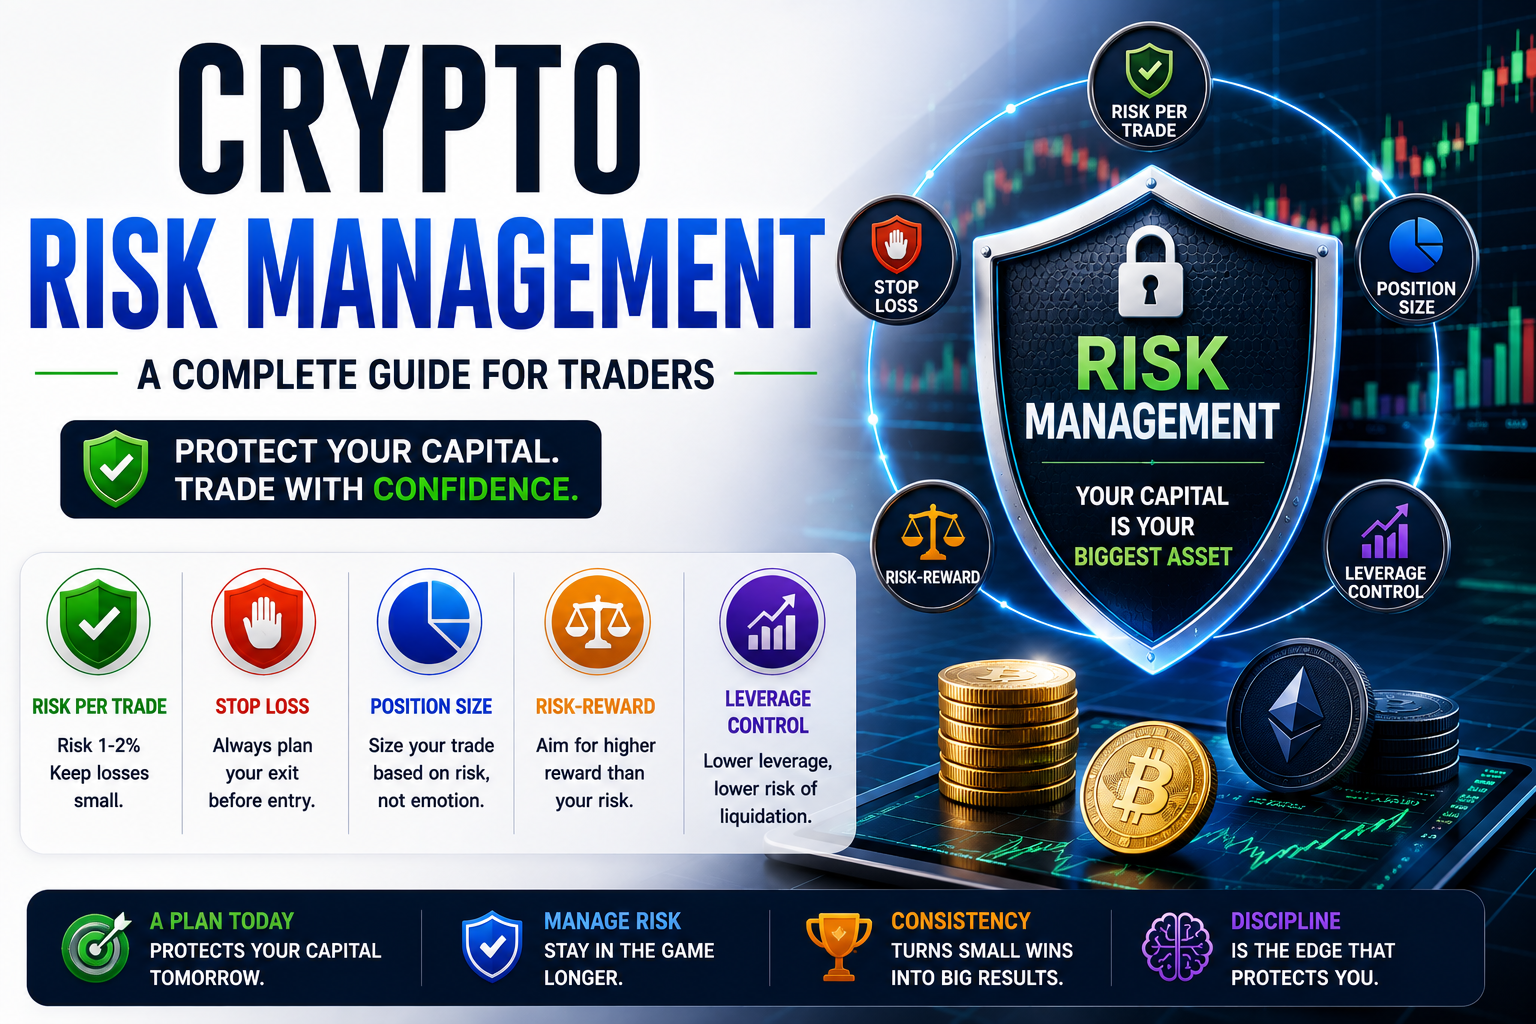
Risk per trade means the amount of money you are willing to lose on a single trade. Many traders limit this to about 1% to 2% of their total account.
This is one of the most important rules in trading. It sets the maximum damage any one trade can do.
Here is why it works. If you risk 1% per trade, you could lose several trades in a row and still keep most of your account. This gives you room to recover. If you risk 20% or 30% per trade, a short losing streak can nearly destroy your account.
Let's look at a simple hypothetical example.
Account size: $2,000
Risk per trade: 1%
Maximum loss allowed on one trade: $2,000 × 1% = $20
In this example, no matter how attractive a trade looks, you plan your position so that if it hits your stop loss, you lose about $20, not more. This one rule keeps you in control.
The 1–2% range is a common guideline, not a fixed law. Newer traders often choose the lower end to stay safer while they learn.
Position Sizing Explained
Position sizing is how you decide how much of a coin to buy or trade. It connects your risk per trade to your stop loss. This is where many traders go wrong, so it is worth understanding clearly.
The idea is simple. First you decide how much you are willing to lose (your risk per trade). Then you look at how far away your stop loss is. Together, these two numbers tell you the correct position size.
Here is a hypothetical example with round numbers.
Account size: $2,000
Risk per trade: 1% = $20
Entry price: $100
Stop loss price: $95
The distance from entry to stop loss is $5 per coin. This means each coin you hold risks $5 if the stop is hit.
To find the position size, divide your total risk by the risk per coin:
Position size = $20 ÷ $5 = 4 coins
Position value = 4 coins × $100 = $400
So in this example, you would trade about $400 worth of the coin. If the price falls to your $95 stop, your loss is about $20, which matches your 1% rule.
Notice what this does. The position size changes based on the stop loss distance. If your stop is far away, you trade a smaller position. If your stop is close, you can trade a larger position for the same risk. This keeps your risk steady across different trades.
![IMAGE 3 [A8].png](/uploads/webp/12f545c3a676d46badf5de5a2e31b63e.webp)
A stop loss is a price level where you exit a losing trade to prevent a larger loss. It is one of the most basic and important risk tools in trading.
Without a stop loss, a small loss can slowly grow into a large one. Many traders hold losing trades because they hope the price will come back. Sometimes it does. But often it keeps falling, and a small loss becomes a serious one. A stop loss removes this hope-based decision and replaces it with a plan.
There are a few common ways traders decide where to place a stop:
Below a support level. If price breaks a clear support area, the trade idea may be wrong.
Based on a percentage. For example, exit if the price falls a set percentage from entry.
Based on volatility. Give the price enough room to move normally, but exit if it moves too far against you.
A stop loss should be placed at a level that actually makes sense for your trade idea, not just at a random number. If your stop is too tight, normal price movement can close your trade early. If it is too wide, your loss becomes larger than planned.
One honest point to understand: a stop loss is a plan, not a guarantee. In fast-moving or thin markets, price can jump past your stop level, and your exit may happen at a worse price than expected. This is called slippage. A stop loss greatly reduces risk, but it does not remove every risk.
Risk-Reward Ratio
The risk-reward ratio compares how much you plan to risk against how much you aim to gain on a trade.
For example, if you risk $20 to try to make $60, your risk-reward ratio is 1:3. You are risking one unit to try to gain three.
Why does this matter? Because it changes how often you need to be right. With a strong risk-reward ratio, you can lose more trades than you win and still be profitable over time.
Let's continue the earlier hypothetical example.
Risk on the trade: $20 (from entry $100 down to stop $95, on 4 coins)
Target price: $115
Profit if target is hit: $15 per coin × 4 coins = $60
Risk-reward ratio: $60 to $20, which is 1:3
In this example, even if only 4 out of 10 trades reached the target, the math could still work in your favor, because each win is three times the size of each loss.
Many traders look for trades with a ratio of at least 1:2 or better. This does not mean every trade must hit its full target. It means you want the possible reward to be worth the risk you are taking.
Leverage and Liquidation Risk
Leverage lets you open a position larger than your own money. For example, with 10x leverage, you can control a $1,000 position using about $100 of your own funds.
Leverage increases both profit and loss. This is the part many new traders do not fully respect. A small price move can create a large gain, but the same small move in the wrong direction can create a large loss, or wipe out your position completely.
When your losses reach the amount of margin you put in, the exchange can close your position automatically. This is called liquidation. In simple terms, liquidation means you lose the funds used to hold that position.
Here is a rough, hypothetical way to understand how leverage affects liquidation. These numbers are simplified and ignore fees and maintenance margin, which make liquidation happen a little sooner in real trading.
At about 10x leverage, a price move of roughly 10% against you can be enough to liquidate the position.
At about 5x leverage, a move of roughly 20% against you can liquidate the position.
At about 4x leverage, a move of roughly 25% against you can liquidate the position.
At about 2x leverage, a move of roughly 50% against you can liquidate the position.
The pattern is clear. Higher leverage means liquidation happens closer to your entry price. Lower leverage gives your trade more room to survive normal market moves.
This has an important effect on stop losses. If your leverage is high, you can be liquidated before your planned stop loss is ever reached. In that case, your stop loss level becomes meaningless, because the position is already closed. This is why leverage should be treated as a serious risk decision, not a way to make small accounts feel bigger.
Leverage is a choice made by the trader, not a fixed part of any trade idea. You can often take the same trade idea with low leverage or no leverage to reduce this risk.
![IMAGE 4 [A8].png](/uploads/webp/ba59c36d5ea52e453f9cefe50930fd33.webp)
Portfolio Allocation and Diversification
Risk management is not only about single trades. It is also about how you spread your money across the whole account.
Do not put everything in one coin. If all your money is in one asset and it drops sharply, your whole account drops with it. Spreading money across a few positions can reduce the impact of any single bad move.
Watch correlation. Many crypto coins move in the same direction at the same time, especially when the whole market moves. So holding ten coins that all move together is not true diversification. When the market falls, they may all fall together.
Keep some funds in reserve. You do not need to be in a trade at all times. Holding some funds aside gives you flexibility and reduces stress. It also means you have capital ready when a strong opportunity appears.
Limit total exposure. Even if each trade follows the 1–2% rule, having too many open trades at once can add up to large total risk. Some traders set a limit on how much of the account can be at risk across all open positions combined.
Managing Trading Psychology
Risk rules only work if you follow them. The hardest part of risk management is often not the math. It is controlling your own emotions.
Fast crypto moves create two dangerous feelings: fear and greed.
Greed pushes traders to use larger positions, add more leverage, or chase a coin that is already rising fast. It whispers that this trade is different and the rules do not apply.
Fear pushes traders to exit good trades too early, or to freeze and hold a losing trade instead of taking a planned stop.
There is also revenge trading. After a loss, some traders immediately open a new, larger trade to win the money back quickly. This usually leads to bigger losses, because the decision is driven by emotion, not by a plan.
The solution is to decide your rules in advance and follow them without changing them in the heat of the moment. A written plan, a set risk per trade, and a fixed stop loss all reduce the power of emotion. Taking breaks after losses also helps you return with a clear mind.
Risk Management When Using Trading Signals
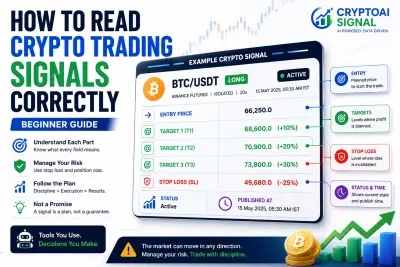
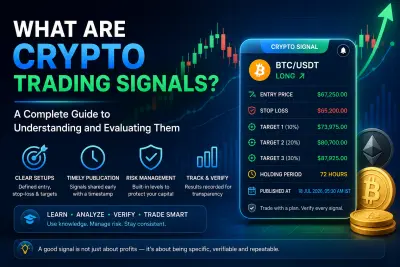
Many traders use trading signals to find setups. A signal is usually a structured trade idea that may include an entry price, target levels, and a stop loss. It is a decision-support tool, not a guaranteed prediction of the future.
It is important to understand that a signal and your personal risk management are two different things. A signal can tell you a possible trade idea. It cannot control how much you risk. That part is always your responsibility.
For example, CryptoAI Signal publishes long-only trade setups on Binance Futures perpetual markets, with a structure that includes an entry price, target levels, and a maximum stop loss. But the signal does not decide your position size or your leverage. Two traders can follow the exact same signal and get very different results, simply because one used careful position sizing and low leverage while the other used a large position with high leverage.
This is why risk management stays in your hands even when you use signals. A published stop-loss level is based on the price of the asset. It does not control your leverage, and it cannot promise protection from liquidation if your leverage is too high. The signal describes the trade idea. You decide how much of your account is exposed to it.
The safe approach is simple. Treat any signal as one input. Then apply your own risk per trade rule, your own position sizing, and your own leverage choice on top of it. The signal may find the opportunity, but your risk rules protect your account.
Common Risk Management Mistakes
Understanding common mistakes helps you avoid them. Here are the ones that damage traders most often.
Trading without a stop loss. This turns small, manageable losses into large ones. It is one of the fastest ways to lose an account.
Risking too much per trade. Putting a large share of your account on a single trade means one bad move can cause serious damage.
Using high leverage without understanding liquidation. Many traders focus only on the possible profit and ignore how easily high leverage can wipe a position.
Moving the stop loss. Some traders move their stop further away when a trade goes against them, hoping for a recovery. This breaks the plan and increases the loss.
Revenge trading. Trying to win back losses quickly with bigger trades usually makes losses worse.
No position sizing plan. Entering random position sizes means your risk is different on every trade, and you lose control of your account.
Ignoring total exposure. Following the risk rule on each trade but opening too many trades at once can still create large combined risk.
Practical Risk Management Checklist
Use this checklist before entering any trade. It turns the ideas above into simple actions.
Have I decided my risk per trade (for example, 1–2% of the account)?
Do I know exactly where my stop loss will be before I enter?
Have I calculated my position size based on that stop loss?
Is the risk-reward ratio worth taking (for example, at least 1:2)?
Have I chosen my leverage carefully, and do I understand the liquidation risk?
Is my total open risk across all trades still under control?
Am I following my plan, and not trading from fear, greed, or revenge?
If you cannot answer these questions clearly, the trade is not ready.
Conclusion
Risk management is the part of trading that keeps you alive long enough to succeed. It is not about avoiding every loss. It is about keeping each loss small and controlled, so that no single trade can end your account.
The main ideas are simple and repeatable. Risk only a small part of your account per trade. Always plan your exit before you enter. Size your position based on your stop loss. Respect leverage and understand liquidation. Spread your risk, and follow your rules instead of your emotions.
Signals, indicators, and strategies can help you find opportunities. But risk management is what protects your capital and gives those opportunities time to work. Learn it first, apply it consistently, and treat it as the foundation of everything else you do in crypto trading.
Frequently Asked Questions
What is risk management in crypto trading?
Risk management in crypto trading is the set of rules you use to control how much you can lose on each trade and across your whole account. It includes deciding your risk per trade, setting a stop loss, sizing your position correctly, and managing leverage.
How much should I risk per trade?
Many traders limit risk to about 1% to 2% of their total account on a single trade. This is a common guideline, not a fixed rule. Newer traders often choose the lower end to stay safer while they learn.
What is a stop loss and do I really need one?
A stop loss is a price level where you exit a losing trade to prevent a larger loss. It is one of the most important risk tools, because it keeps a small loss from growing into a large one. Note that a stop loss reduces risk but does not remove every risk, since price can sometimes jump past your level.
Why is leverage so risky in crypto?
Leverage increases both gains and losses. With high leverage, a small price move against you can cause a large loss or liquidation, where the exchange closes your position and you lose the margin used for it. Higher leverage means liquidation happens closer to your entry price.
Can risk management guarantee I will not lose money?
No. Risk management cannot remove risk or guarantee profit. Its purpose is to keep losses small and controlled so that no single trade can seriously damage your account. Trading always carries the risk of loss.
Do trading signals replace risk management?
No. A trading signal is a decision-support tool that suggests a possible trade idea. It does not control your position size or leverage. Your own risk management rules always remain your responsibility, even when you follow a signal.